Outcomes
Learners will be able to understand the significance of painting beehive boxes for honey bee orientation and recognize the key factors to consider when painting their hive.
Key Takeaways
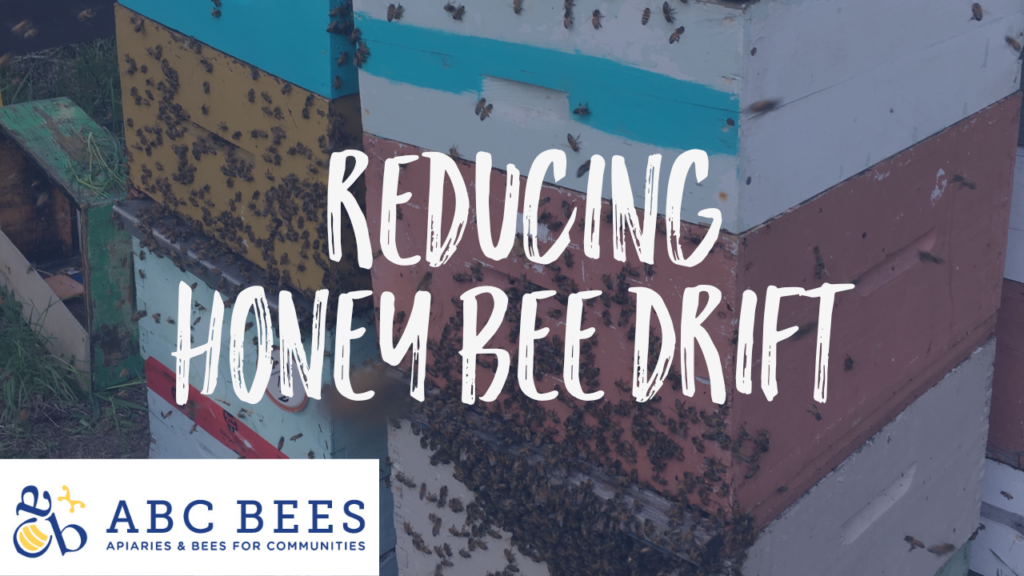
Bees have impressive navigation skills within their colonies, but drift can occur in apiaries with multiple colonies.
Hive orientation and visual landmarks help reduce drift by guiding bees to the correct hive.
Bees recognize colors and symbols, allowing beekeepers to create visual cues that aid bee orientation and colony health.
In this guide, we’ll offer tips for choosing the right paint and provide a step-by-step approach to achieving the perfect painted hive.
Why Paint Beehives?
Temperature Regulation: The right paint color can help maintain optimal temperatures inside the hive, ensuring your honey bees are comfortable year-round. Lighter colors reflect heat, keeping the hive cool in summer, while darker shades absorb warmth, aiding survival during colder months.
Enhancing Bee Orientation: Painted hives can aid in bee orientation. Bees use visual cues to locate their hives, and distinct hive colors can serve as landmarks, helping them navigate and return accurately to their colony.
Fun and Creativity: Painting your hives is an opportunity to get creative and add personality to your apiary. From traditional white to pastels and artistic designs, the options are endless.
Choosing the Right Paint: Opt for low-VOC water-based exterior latex paint, ensuring it’s safe for your bees and the environment. Light colors are ideal for hot climates, while darker shades suit colder regions. Avoid painting the interior of the hive to keep your bees and honey uncontaminated.
Step-by-Step Hive Painting Process:
1. Prepping the Hive: Before painting, make sure your hive is well-assembled and sturdy. A solid foundation ensures your paint job lasts.
2. Applying Primer: Start with an exterior primer to seal the wood and enhance paint adhesion. An oil-based primer provides superior protection against the elements.
3. Choosing Your Paint Color: Select a color that suits your climate, apiary surroundings, and personal preferences. Consider blending into nature or getting creative with vibrant hues.
4. Applying Paint: Use a brush or roller to apply two coats of exterior latex paint. Paint all exterior surfaces, including edges, but avoid the interior parts where the bees reside.
5. Drying and Curing: Allow your painted hive to dry and cure for at least 30 days. This ensures the paint fully sets and minimizes any negative impact on the bees.
6. Maintenance: Periodically clean your painted hives using warm water and a brush. Touch up minor flaking or dinged spots with fresh paint to maintain their appearance and protection.
Conclusion
By following these steps, you’ll not only create visually appealing hives but also ensure the longevity and health of your bee colonies. Painting your beehives is a rewarding endeavor that combines creativity with practicality, benefiting both your bees and your apiary’s overall aesthetics.